
I find that the best mixing plate is just a simple white porcelain dessert plate, about eight inches in diameter. I think I paid $2.99 at CostPlus World Market. Many spotting kits come with a cheap plastic plate with several wells for water or color or something. Right off the bat, plastic is a non-starter. Dyes and water will just bead up on plastic and make things difficult. Also, I like to partition my plate so I can have multiple shades ready for use, but all properly labeled so I don’t mistakenly use the wrong color on a project. Plastic won’t allow you to draw lines or write letters.
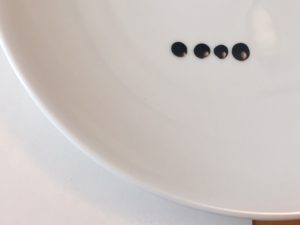 Step 1: measure out the right amount of dye for the formula you are using. Don’t use full drops of dye as that is usually way too much. I just have about 1/4 inch of dye in the glass dropper and then just touch the tip to the plate. That will deposit a small and repeatable amount of dye.
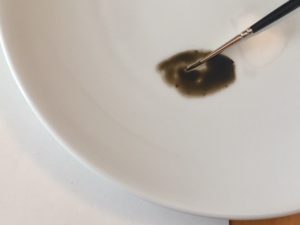
Step 2: Mix the different colors thoroughly so you will have a consistent color for the duration of use.
 Step 3: Test the color on your paper. The paper serves three purposes: the first is to test the color, the second is to sharpen the point of the brush hairs and the third is to remove excess water. You always want to use a relatively dry brush since one with too much water can be uncontrollable.
 Step 4: Draw a line with your brush to partition off this area of your plate and label this area with the name or code you have established for this color, whether it’s a standard color or a custom mix.